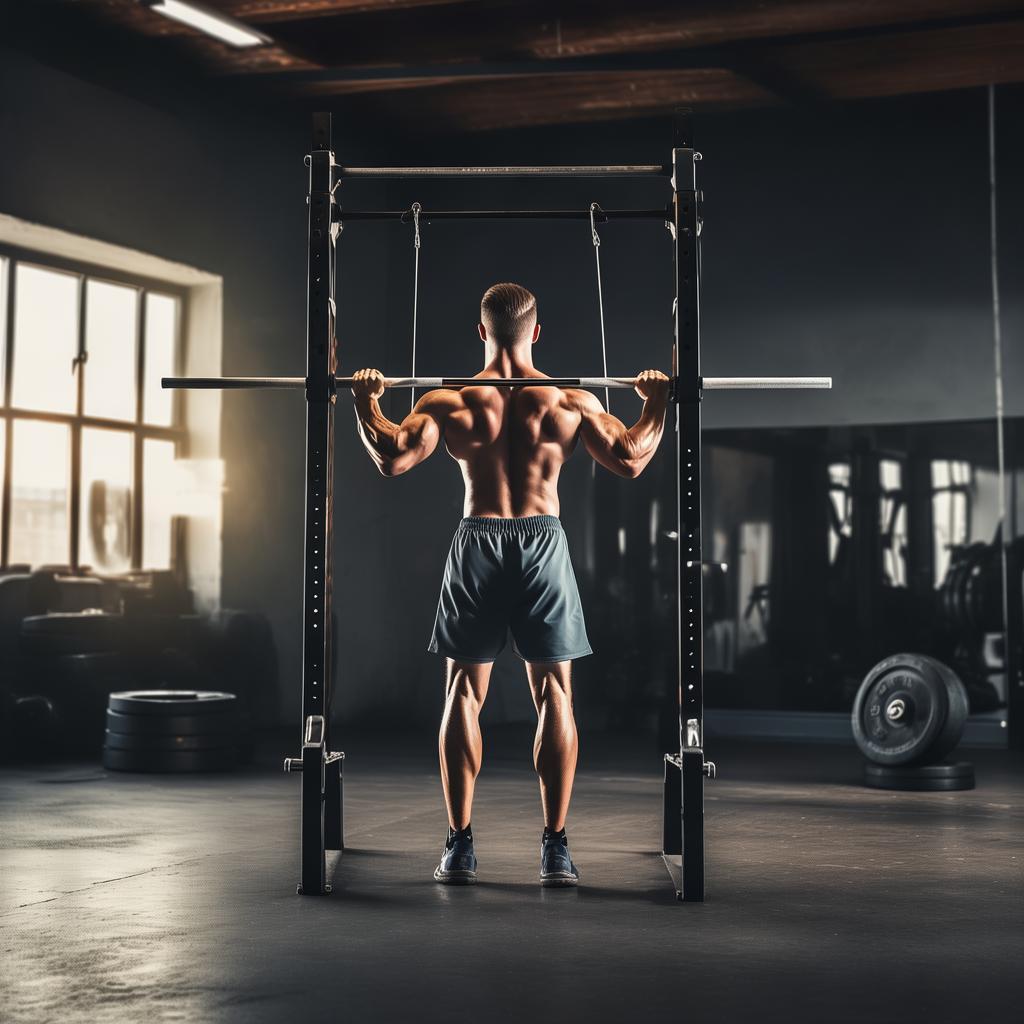
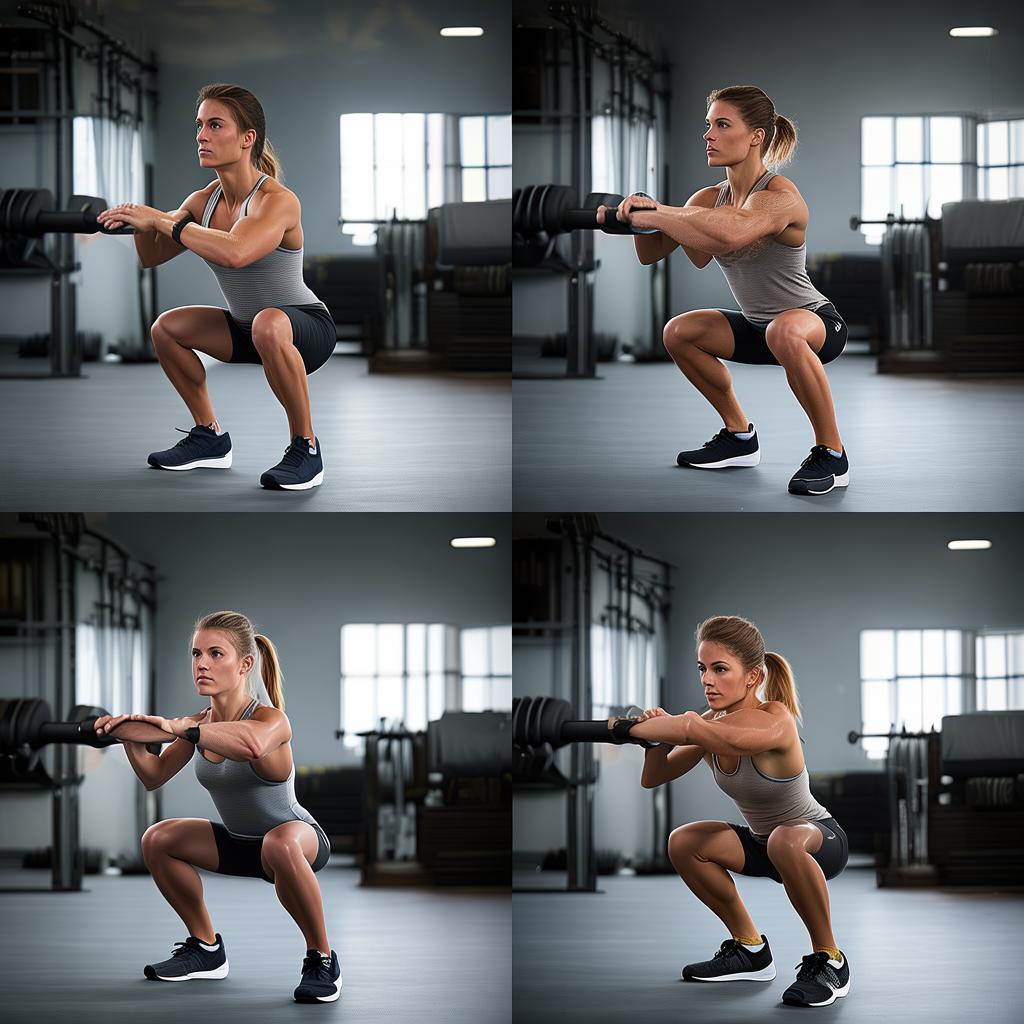
The Significance of Back Training and the High Pull – Down
When it comes to fitness, many people prioritize chest training, considering the chest as the “face” of a fitness enthusiast. However, real – fitness experts know that the back is just as important. There’s a saying that in a master’s duel, one can tell a lot just by looking at the back. Today, we focus on the high pull – down, a commonly practiced back training movement in the gym.
The Grip Variations of the High Pull – Down
The high pull – down is a definite back training exercise with different grip positions, grips, and holds. There are three main types. The first is the forward grip, where the palm faces the front of the body, a popular choice among many fitness enthusiasts. The second is the reverse grip, with the palm facing the self and the back of the palm forward. The third is the opposite grip, where the palms face each other and the tiger’s mouth faces the self.
Different grips can stimulate the back muscles in different ways. For example, the wide forward grip mainly involves the shoulder joints moving and the shoulders moving inward in the frontal plane, with the elbows bent and the arms participating in the movement. The opposite grip and reverse grip are more about shoulder joint movement in the sagittal plane, with elbow flexion and arm involvement. The reverse grip and opposite grip tend to stimulate more of the lower – back muscles, targeting the latissimus dorsi and rhomboid muscles of the back.
Proper Form and Key Points during the High Pull – Down
During the high pull – down, it is crucial to sink the shoulders and keep the torso stable with a slightly wider and flatter chest. First, secure the lower body using the adjustable stoppers on the high pull – down equipment to stabilize the body, reducing the need to borrow excessive force and helping to maintain torso stability, relying more on the back muscles to contract.
One must remember not to shrug the shoulders, a common mistake among fitness enthusiasts. The scapular retraction should be in place, and the entire movement stroke should be as complete as possible to better stimulate the back muscles. If energy is running out towards the end of a set or the forearm grip is not strong enough, some borrowing or half – strokes can be done, but the purpose is to better stimulate the back muscles, not just to complete the reps.
Why Recommend the High Pull – Down
The high pull – down is recommended because it is easy to practice in the gym and relatively easy to visualize. It is also a very effective compound movement. When training the back, we should focus on multi – joint (compound) movements as much as possible and do them when the muscles are at their strongest during the workout sequence. Single – joint back isolation movements are less common and less popular in mass fitness.
Body Posture and the Use of Training Aids
For every back movement, including the high pull – down, the trainer should have the chest up, the back straight, and the hips outwards. This posture makes the movement more powerful. If the torso is relaxed, it not only increases the risk of injury but also reduces the muscle’s power – generating advantage.
When doing high pulldowns, it may happen that the forearm muscles feel sore in the last few reps while the back still has strength. In this case, it is advisable to use a booster band. Contrary to the view that using a booster band weakens the grip, one should remember that the focus is on back muscle training, not grip or forearm training. Using a booster band can even allow for 1 – 2 more reps at the same weight, increasing the training volume and promoting more muscle mass.
A Complete Back Training Programme
Here is a complete back training programme for reference:
- Prone barbell row: 3 – 4 sets, 8 – 10 reps
- Narrow distance seated row: 3 sets, 8 – 10 reps
- Reverse grip seated row: 3 sets, 10 – 12 reps
- High pull – down: 3 sets to exhaustion


